
how to customize data factory triggers across environments with azure devops pipelines.

introduction.
The release process of Azure Data Factory has significantly improved with the new CICD flow. Now, we can validate data factories in the context of build pipelines and as a result create artifacts that, in turn, can be consumed by Azure DevOps release pipelines. The release pipeline itself provides customization alternatives in order to update connection strings, URLs, secrets etc. when pushing a new version to other environments. However, it is not possible to customize triggers when lifting a development data factory to test or production. Especially, when certain data factory environments fetch data from the same sources, there could be the need to steer triggers in a more enhanced way.
.
prerequisites.
1. Three data factories (toms-datafactory-dev, toms-datafactory-test, toms-datafactory-prod)
2. An Azure DevOps project (tomsazuredevopsproject) with a repository in place (tomsrepository) and appropriate user rights to create release pipelines
3. A service connection in Azure DevOps (tomsazuredevopsserviceconnection) that can connect to Azure via a service principal (serviceprincipal-tomsazuredevopsproject)
4. The Azure DevOps service principal from above needs to have Azure Data Factory contributor rights on each data factory
5. The development data factory (toms-datafactory-dev) has to have an established connection to the repo tomsrepository. Note, do not connect the other data factories to the repository.
6. A build pipeline (tomsbuildpipeline) as described here
.
plan of action.
1. What is our starting point?
2. Create the release pipeline
3. Showtime!
.
1. What is our starting point?
Let’s quickly recap the prerequisites.
a. The three data factories. In this case, all data factories are in the same resource group. However, this is just in the context of this post and typically not the case.

.
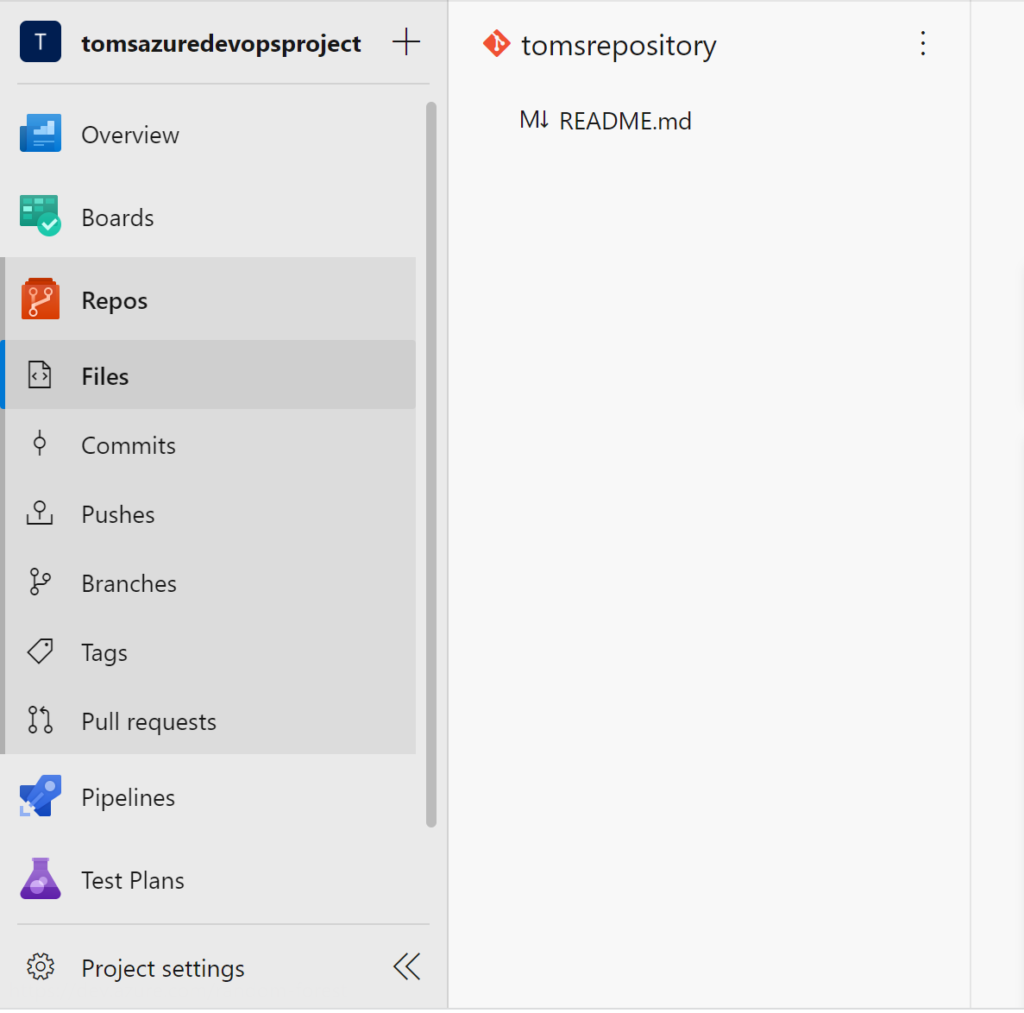
b. An Azure DevOps project tomsazuredevopsproject with a repository tomsrepository:
.
c. A service connection in Azure DevOps tomsazuredevopsserviceconnection that has access to Azure via the service principal serviceprincipal-tomsazuredevopsproject

.
d. The Azure DevOps service principal serviceprincipal-tomsazuredevopsproject needs Azure Data Factory contributor rights on each data factory. Since all data factories are in the same resource group here, the Data Factory Contributor role is assigned on resource group level:

.
e. The development data factory (toms-datafactory-dev) has to have an established connection to the repository tomsrepository.

.
f. A build pipeline tomsbuildpipeline as described here. In the following a quick walk-through on how we did it. If you connected the data factory as above, in your repository there should be a datafactory folder. Add another folder under that one called cicd. Because a folder cannot be empty, you need to create a dummy file, which we will be deleting later. Under the cicd folder create another folder called build including a new file package.json.

.
A code editor will pop where the following json code needs to be pasted:

{
    "scripts":{
        "build":"node node_modules/@microsoft/azure-data-factory-utilities/lib/index",
        "build-preview":"node node_modules/@microsoft/azure-data-factory-utilities/lib/index --preview"
    },
    "dependencies":{
        "@microsoft/azure-data-factory-utilities":"^1.0.0"
    }
}
.
Next, we need to add a yaml script build-pipeline.yaml underneath the build folder with the subsequent code. Note, some lines need to be changed with your own specific details (highlighted). Also, the space between datafactory and /subscription is deliberate.


# Sample YAML file to validate and export an ARM template into a build artifact
# Requires a package.json file located in the target repository

trigger:
- main #collaboration branch

pool:
  vmImage: 'ubuntu-latest'

steps:

# Installs Node and the npm packages saved in your package.json file in the build

- task: NodeTool@0
  inputs:
    versionSpec: '14.x'
  displayName: 'Install Node.js'

- task: Npm@1
  inputs:
    command: 'install'
    workingDir: '$(Build.Repository.LocalPath)/datafactory/cicd/build' #replace with the package.json folder
    verbose: true
  displayName: 'Install npm package'

# Validates all of the Data Factory resources in the repository. You'll get the same validation errors as when "Validate All" is selected.
# Enter the appropriate subscription and name for the source factory.

- task: Npm@1
  inputs:
    command: 'custom'
    workingDir: '$(Build.Repository.LocalPath)/datafactory/cicd/build' #replace with the package.json folder
    customCommand: 'run build validate $(Build.Repository.LocalPath)/datafactory /subscriptions/Azure-Subscription-Here-1234-56789/resourceGroups/ResourceGroupHere/providers/Microsoft.DataFactory/factories/toms-datafactory-dev'
  displayName: 'Validate'

# Validate and then generate the ARM template into the destination folder, which is the same as selecting "Publish" from the UX.
# The ARM template generated isn't published to the live version of the factory. Deployment should be done by using a CI/CD pipeline.

- task: Npm@1
  inputs:
    command: 'custom'
    workingDir: '$(Build.Repository.LocalPath)/datafactory/cicd/build' #replace with the package.json folder
    customCommand: 'run build export $(Build.Repository.LocalPath)/datafactory /subscriptions/Azure-Subscription-Here-1234-56789/resourceGroups/ResourceGroupHere/providers/Microsoft.DataFactory/factories/toms-datafactory-dev "ArmTemplate"'
#For using preview that allows you to only stop/ start triggers that are modified, please comment out the above line and uncomment the below line. Make sure the package.json contains the build-preview command.
 #customCommand: 'run build-preview export $(Build.Repository.LocalPath) /subscriptions/222f1459-6ebd-4896-82ab-652d5f6883cf/resourceGroups/GartnerMQ2021/providers/Microsoft.DataFactory/factories/Dev-GartnerMQ2021-DataFactory "ArmTemplate"'
  displayName: 'Validate and Generate ARM template'

# Publish the artifact to be used as a source for a release pipeline.

- task: PublishPipelineArtifact@1
  inputs:
    targetPath: '$(Build.Repository.LocalPath)/datafactory/cicd/build/ArmTemplate' #replace with the package.json folder
    artifact: 'ArmTemplates'
    publishLocation: 'pipeline'
.
Before creating the build pipeline, remove the dummy file in the cicd folder. Afterwards, follow the screenshots:


.
Finally, save and run the build pipeline. If everything goes well, you should end up with a screen similar to this:

.
2. Create the release pipeline
Before we start building the release pipeline, we need to set up some additional Powershell scripts in the cicd folder. We are using the same approach suggested by Microsoft. For this, create a new Powershell script called cicd.ps in a new folder release:


.
The Poweshell script is taken from here. Note, there is a newer version, too.
Now, we go for another Powershell script which shall be named triggerupdate.ps1. This script is doing the magic, where triggers – per enviornment – will either be activated, deactivated or entirely deleted. It uses some code snippets from the cicd.ps1 script.


param
(
    [parameter(Mandatory = $true)] [String] $TriggerConfigFilePath,
    [parameter(Mandatory = $true)] [String] $ResourceGroupName,
    [parameter(Mandatory = $true)] [String] $DataFactoryName
)

Write-Host "get trigger config json file from " $TriggerConfigFilePath
$TriggerConfigJSON = Get-Content $TriggerConfigFilePath | ConvertFrom-Json

Write-Host "classify triggers "
$triggersToDelete = $TriggerConfigJSON.triggers | Where-Object { $_.action -eq "delete" }     | Select $_.name
$triggersToStop   = $TriggerConfigJSON.triggers | Where-Object { $_.action -eq "deactivate" } | Select $_.name
$triggersToStart  = $TriggerConfigJSON.triggers | Where-Object { $_.action -eq "activate" }   | Select $_.name

Write-Host "     triggers to delete : "     $triggersToDelete.name
Write-Host "     triggers to deactivate : " $triggersToStop.name
Write-Host "     triggers to activate : "   $triggersToStart.name

# delete triggers
Write-Host "delete triggers"
$triggersToDelete | ForEach-Object {
    Write-Host "      delete trigger "  $_.Name
    $trig = Get-AzDataFactoryV2Trigger -name $_.Name -ResourceGroupName $ResourceGroupName -DataFactoryName $DataFactoryName
    if ($trig.RuntimeState -eq "Started") {
        if ($_.TriggerType -eq "BlobEventsTrigger" -or $_.TriggerType -eq "CustomEventsTrigger") {
            Write-Host "Unsubscribing trigger" $_.Name "from events"
            $status = Remove-AzDataFactoryV2TriggerSubscription -ResourceGroupName $ResourceGroupName -DataFactoryName $DataFactoryName -Name $_.Name
            while ($status.Status -ne "Disabled"){
                Start-Sleep -s 15
                $status = Get-AzDataFactoryV2TriggerSubscriptionStatus -ResourceGroupName $ResourceGroupName -DataFactoryName $DataFactoryName -Name $_.Name
            }
        }
        Stop-AzDataFactoryV2Trigger -ResourceGroupName $ResourceGroupName -DataFactoryName $DataFactoryName -Name $_.Name -Force
    }
    Remove-AzDataFactoryV2Trigger -Name $_.Name -ResourceGroupName $ResourceGroupName -DataFactoryName $DataFactoryName -Force
}

# deactivate triggers
Write-Host "deactivate triggers"
$triggersToStop | ForEach-Object {
    Write-Host "      deactivate trigger "  $_.Name
    $trig = Get-AzDataFactoryV2Trigger -name $_.Name -ResourceGroupName $ResourceGroupName -DataFactoryName $DataFactoryName
        if ($_.TriggerType -eq "BlobEventsTrigger" -or $_.TriggerType -eq "CustomEventsTrigger") {
            Write-Host "Unsubscribing trigger" $_.Name "from events"
            $status = Remove-AzDataFactoryV2TriggerSubscription -ResourceGroupName $ResourceGroupName -DataFactoryName $DataFactoryName -Name $_.Name
            while ($status.Status -ne "Disabled"){
                Start-Sleep -s 15
                $status = Get-AzDataFactoryV2TriggerSubscriptionStatus -ResourceGroupName $ResourceGroupName -DataFactoryName $DataFactoryName -Name $_.Name
            }
        }
        Stop-AzDataFactoryV2Trigger -ResourceGroupName $ResourceGroupName -DataFactoryName $DataFactoryName -Name $_.Name -Force
}

# activate triggers
Write-Host "activate triggers"
$triggersToStart | ForEach-Object {
    Write-Host "      activate trigger "  $_.Name
    $trig = Get-AzDataFactoryV2Trigger -name $_.Name -ResourceGroupName $ResourceGroupName -DataFactoryName $DataFactoryName
        if ($_.TriggerType -eq "BlobEventsTrigger" -or $_.TriggerType -eq "CustomEventsTrigger") {
            Write-Host "Subscribing trigger" $_.Name "to events"
            $status = Remove-AzDataFactoryV2TriggerSubscription -ResourceGroupName $ResourceGroupName -DataFactoryName $DataFactoryName -Name $_.Name
            while ($status.Status -ne "Enabled"){
                Start-Sleep -s 15
                $status = Get-AzDataFactoryV2TriggerSubscriptionStatus -ResourceGroupName $ResourceGroupName -DataFactoryName $DataFactoryName -Name $_.Name
            }
        }
        Start-AzDataFactoryV2Trigger -ResourceGroupName $ResourceGroupName -DataFactoryName $DataFactoryName -Name $_.Name -Force
}


Write-Host "all triggers have been configured according to TriggerConfig.json file"
.
Lastly, we create the trigger-config-json-files for each data factory under the same release folder. Here, we are going to specify which status each trigger will be assigned in its respective environment. Make sure to name it according to this pattern: [datafacoryname]_TriggerConfig.json.


{
    "triggers": [

    ]

}
.
The file and folder structure should look like this:

.
Create a new release pipeline and select Empty job


.
Pick a name for the pipeline as well as for the stage

.
Add two artifacts to the pipeline, one Build and one Azure Repository:


.
Now, we need to set the variables datafactory, resourcegroup and tenantid. Your data factories are probably in different resource groups. In that case you need to specify them per Scope, too.

.
Then, we are ready to fill the pipeline with tasks. Again, we follow the steps according to Microsoft’s best practices. Start by adding an Azure Powershell task with the name stop triggers:

.
Script Path
$(System.DefaultWorkingDirectory)/_main/datafactory/cicd/release/cicd.ps1
.
Script Arguments
-armTemplate "$(System.DefaultWorkingDirectory)/_tomsrepository/ArmTemplates/ARMTemplateForFactory.json" -ResourceGroupName $(resourcegroup) -DataFactoryName $(datafactory) -predeployment $true -deleteDeployment $false
.
Next, we need an ARM deployment task:

.
Template
$(System.DefaultWorkingDirectory)/_tomsrepository/ArmTemplates/ARMTemplateForFactory.json
.
Template Parameters
$(System.DefaultWorkingDirectory)/_tomsrepository/ArmTemplates/ARMTemplateParametersForFactory.json
.
Override template Parameters
-factoryName $(datafactory)
.
After the deployment, we need to start the triggers again. For this, create another Azure Powershell task with the following settings. Essentially, it is the same as the first Azure Powershell task but with predeplpoyment set to false and deleteDeployment to true.

.
Script Path
$(System.DefaultWorkingDirectory)/_main/datafactory/cicd/release/cicd.ps1
.
Script Arguments
-armTemplate "$(System.DefaultWorkingDirectory)/_tomsrepository/ArmTemplates/ARMTemplateForFactory.json" -ResourceGroupName $(resourcegroup) -DataFactoryName $(datafactory) -predeployment $false -deleteDeployment $true
.
Finally, create another Azure Powershell task according to the subsequent screenshot:

.
Script Path
$(System.DefaultWorkingDirectory)/_main/datafactory/cicd/release/triggerupdate.ps1
.
Script Arguments
-TriggerConfigFilePath "$(System.DefaultWorkingDirectory)/_main/datafactory/cicd/release/$(datafactory)_TriggerConfig.json" -ResourceGroupName $(resourcegroup) -DataFactoryName $(datafactory)
.
The task sequence should look like this:

.
At last, just clone the dev stage to create a test and prod pipeline. Do not forget to add the new data factory name per scope to each variable:

.
3. Showtime!
Let’s create a new trigger called tomstrigger in the toms-datafactory-dev and assign it to a new pipeline:


.
Now, all we need to do is to add that new trigger to the config files for each data factory and set the action value to either delete, deactivate or activate.

.

.

.
Let’s start the release pipeline and wait for its successful completion.

.
Lastly, we want to check whether our triggers have been changed by Azure DevOps as we expect it. In dev, the trigger does not exist anymore since we chose delete as the action.

.
In test, the trigger is apparent but not active (=deactivate)

.
In prod, the trigger is both apparent and active (=activate)

.
end.
This whole approach is very similar to Microsoft’s handling of using global parameters in Azure DevOps pipelines. There, json configuration files are also used to update parameters for different environments. In this case here, we could even increase customization capabilities of the Powershell script by offering more custom alternatives like the time of scheduled triggers or event types of custom or storage events. This might be the topic of another blog post in the future. Lastly, I’d like to recommend you the blog posts about how to make a service principal the owner of a power bi dataset, how to refresh individual tables or partitions in power bi datasets with data factory as well as how to automate the management of custom partitions for power bi datasets.
We do it by this code that we run just before creating the artifact.
– task: PowerShell@2
inputs:
targetType: ‘inline’
script: |
# Define the paths
$source = “$(Build.Repository.LocalPath)/cicd/trigger”
$target = “$(Build.Repository.LocalPath)/$(ADFRepoFolder)/trigger”
Copy-Item -Path “$source\*” -Destination $target -Force